
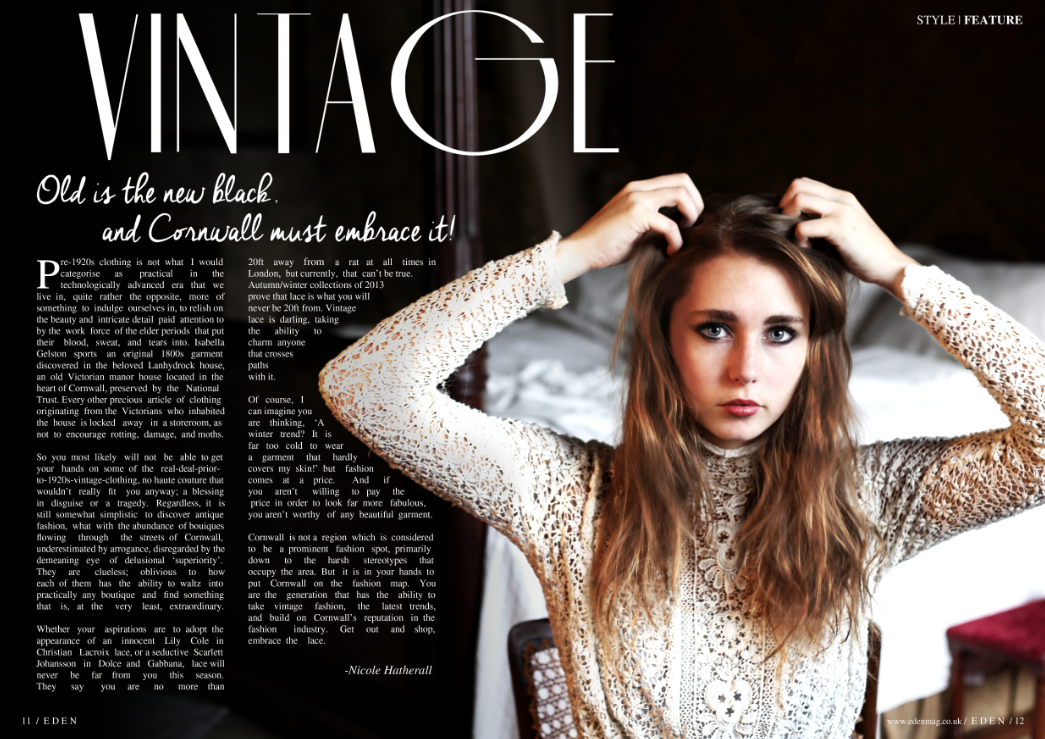
1. I imported the feature photograph into photoshop onto an A3 document

2. I duplicated the layer, and adjusted the brightness and contrast.

3. I then put a filter on the layer in hope that it would airbrush the model in a realistic manner, but it did not so I undid this.
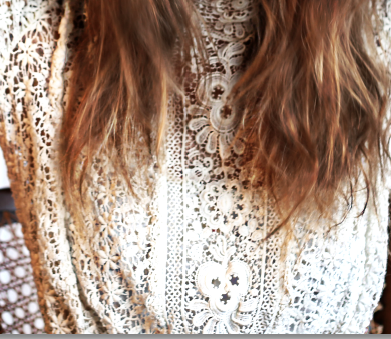
4. As the detail in the garment was not overly prominent, I used the brush tool on a low opacity and in black to bring out the shadows and enhance the detail. 

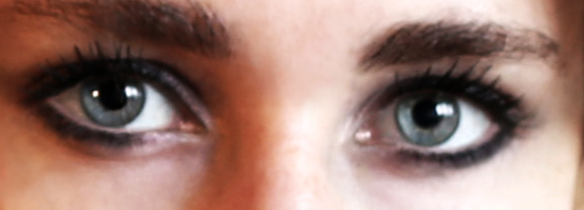 5. I enhanced the iris colour with the brush tool on a low opacity, overlay and white.
6. I used the gradient tool to fill in the blank space to the left and made it black.
 7. As the model had spots, I used the spot healing tool to fix this.
8. I added text at the top of the page, half in bold.


9. In both bottom corners, I added the necessary info, such as the website name and page numbers, with the text tool.

10. The feature heading was a screenshot of a font that I found on the internet and I imported it onto my feature spread.

11. I did the same as step 10 with the subheading

12. I added text onto the page and adjusted it to fit around the models arm. I also added my name at the bottom.
No comments:
Post a Comment